

by Ray Davis, CTP
A quick blog on setting up Citrix WEM on premises with Web Console NetScaler integration update.

In this blog, I will not discuss the details of setting up Citrix WEM on-premise; many articles about this are on the community forums. Instead, I will focus on Citrix WEM Web integrations and provide a quick tutorial on how to achieve this.
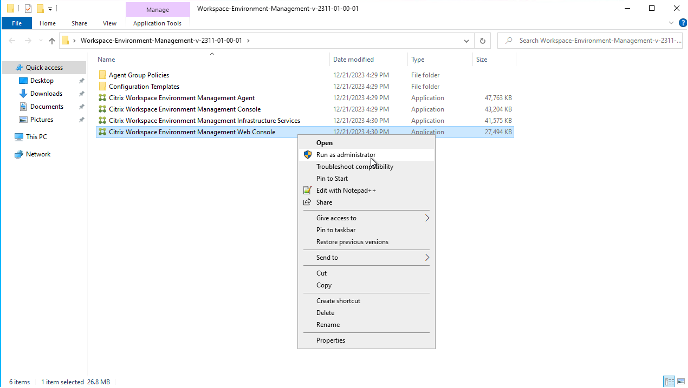
At this point, I assume you have an on-premise setup already configured here. The next step is to integrate the Wem Web console into the setup. To start, install the Citrix WEM Web Console in your desired location on both Citrix WEM servers or a box you dedicate to Web components if needed.

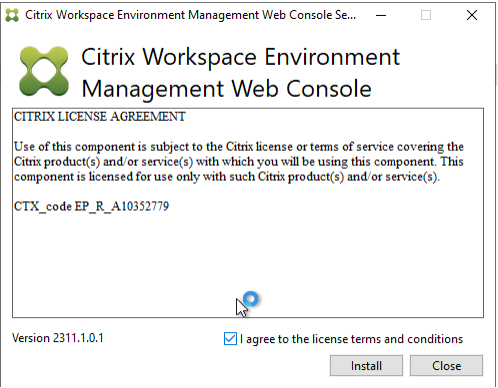
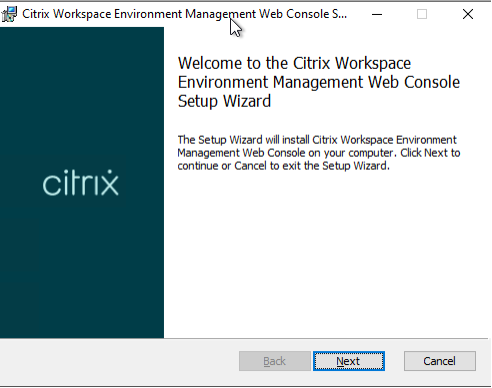
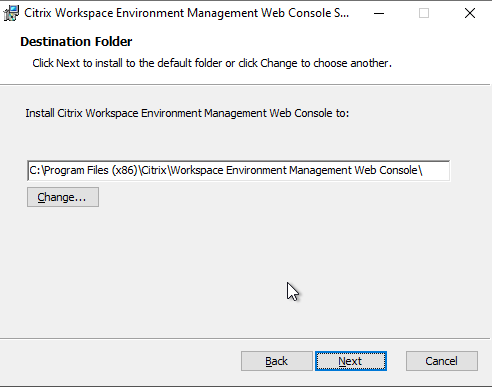
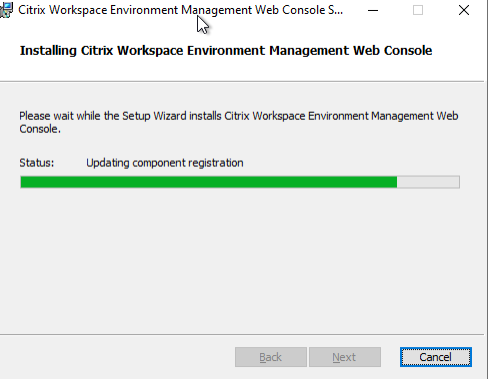
- Launch the WEM Web installer and follow the basic prompts to get it installed.


2. Configure and start the Web console
a) I am providing a basic walkthrough on how I did it, and you can refer to the installation details here
Web console | Workspace Environment Management 2311 (citrix.com)
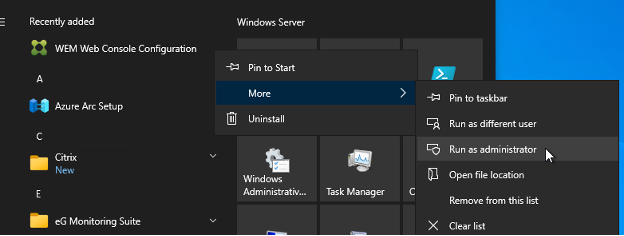
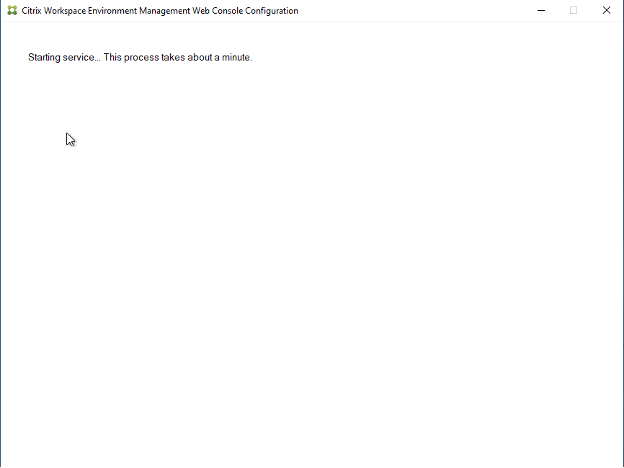
3. Open the WEM Web Console: When opening the Citrix WEM Web Configuration console, you must right-click and run as Admin, or it will error out. This is similar to how Citrix FAS is today.
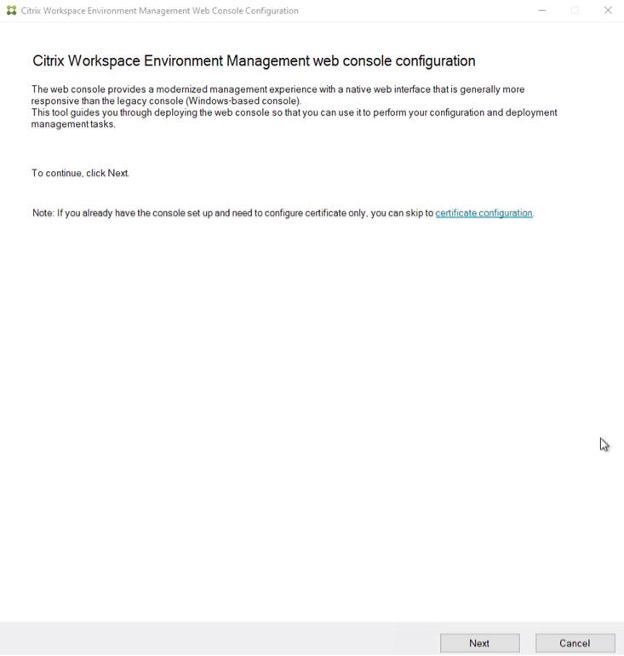
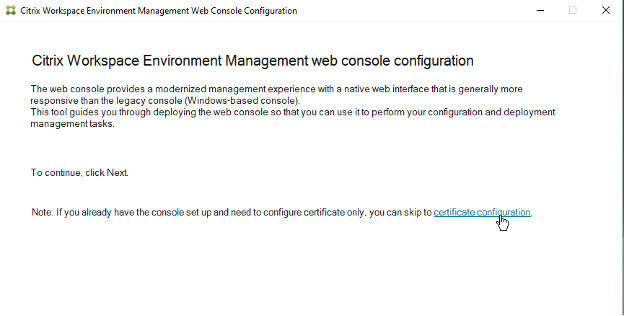
4. You will be presented with this screen, click next
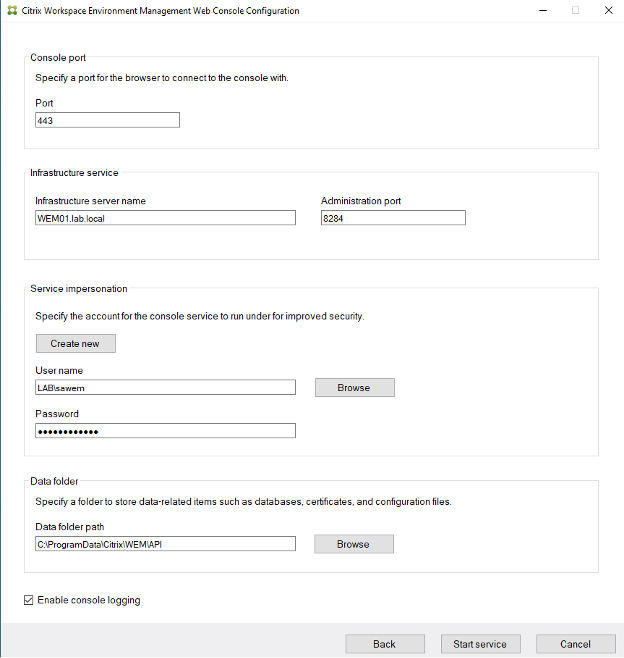
5. The service impersonation section is when the web console service impersonates the specific account to improve security.
6. You can use another service account for the Web console. In my case, I am using the same one I created for the Infrastructure Service account.
- Note: If you create a new Service Account for the WEM Web side, add it to the Administrators section for WEM as full Admin. This is in the Install doc on Number 4.
- https://docs.citrix.com/en-us/workspace-environment-management/current-release/install-and-configure/web-console#web-console-configuration
7. Also, you will need to put this Service account on the File share needed for the Web location. (See way down below)
8. Leave the API folder where it’s at unless you need to repoint it.
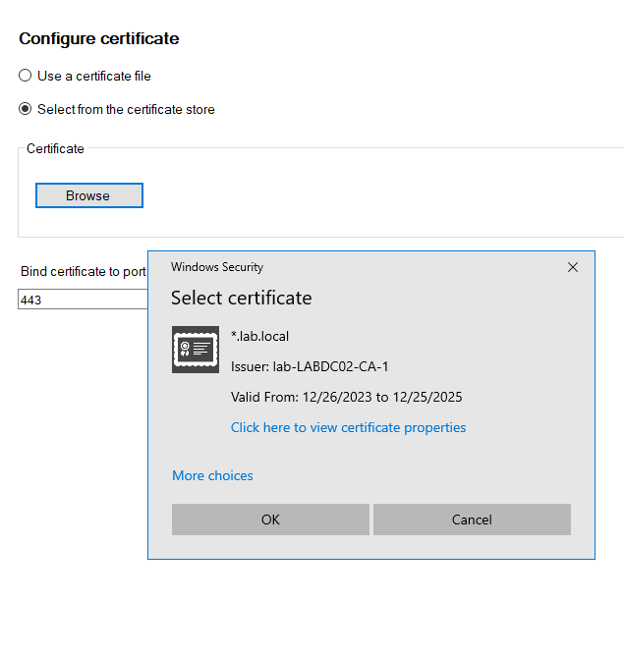
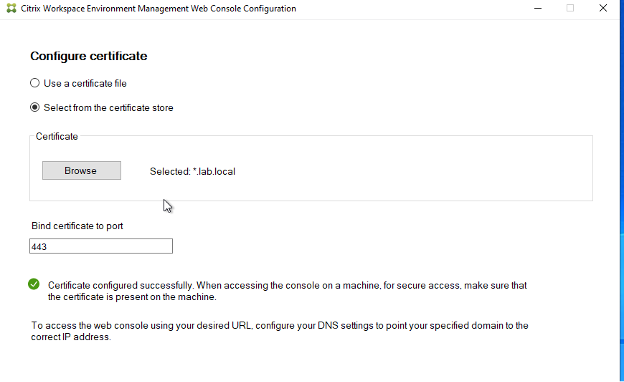
9. This completes the base configuration here. However, I would like to add an SSL certificate. You can also click “Configure Certificate” to set it up after you install the Web console aspects or open the console back up and click the “Certification configuration”


10. I will use the wildcard I created in my Lab to address this.
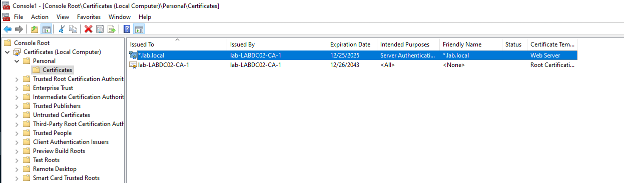
11. MMC > install SSL or Request one.

12. Back to WEM Web Console
13. In my case, I installed it via MMC/Personal Store


14. It pulls from the Local Personal Store, which is this example.

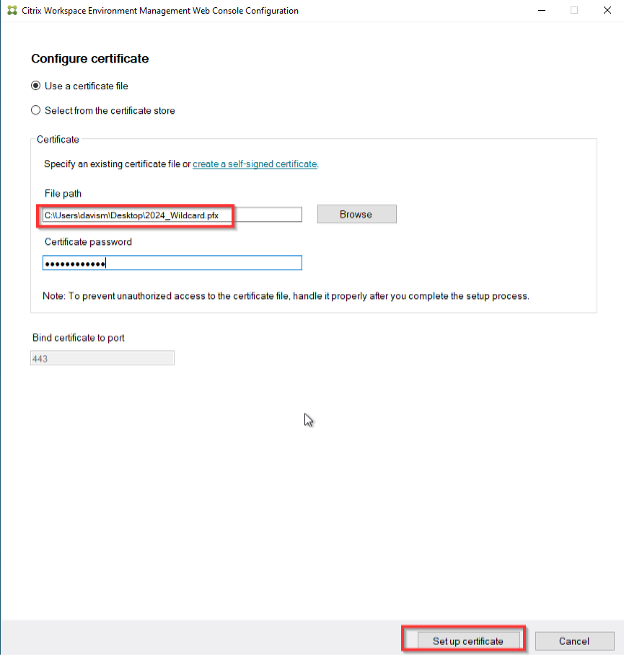
15. Other ways for documentation purposes are to put the PFX on the desktop or any location, and it pulls it in.

16. Complete this on both WEM Web consoles. This concludes the Web console installation and setup for now.
17. In my setup, Citrix WEM is already load-balanced for the Agents coming into the infrastructure side. But since we have a Web console now, we need to add these to the mix.
- NOTE: If Citrix WEM is not set up in NetScaler to be Load-balanced for more than one server, you can follow the NetScaler Section here for that
18. If you already have Citrix WEM set up in NetScaler to be Load-balanced, you‘ll want to integrate the WEM Web console side into the NetScaler.
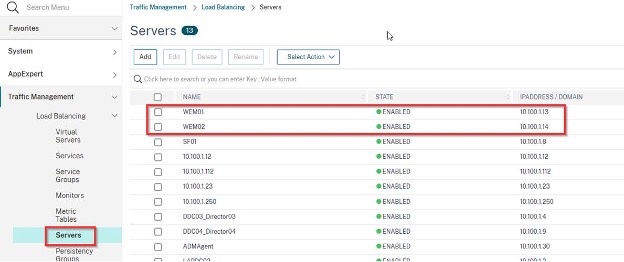
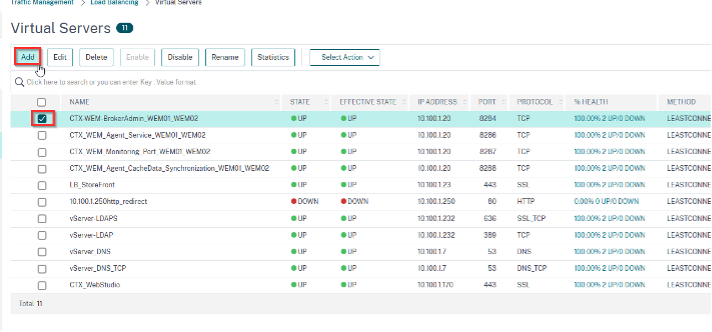
19. Add the Servers if not added. Which they should be if you already have them Load-balanced.
20. Add the Service Group – Logical grouping for the LB vServer
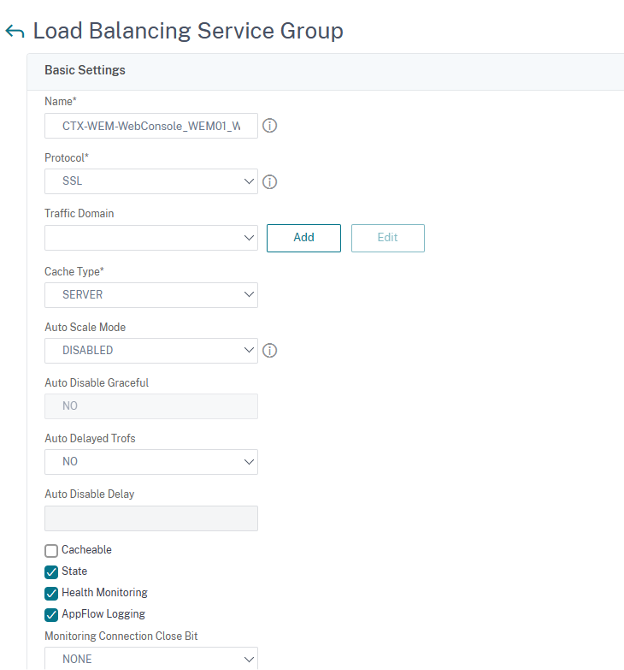
21. Add Service Group members and add 443 being, which is the port used here.
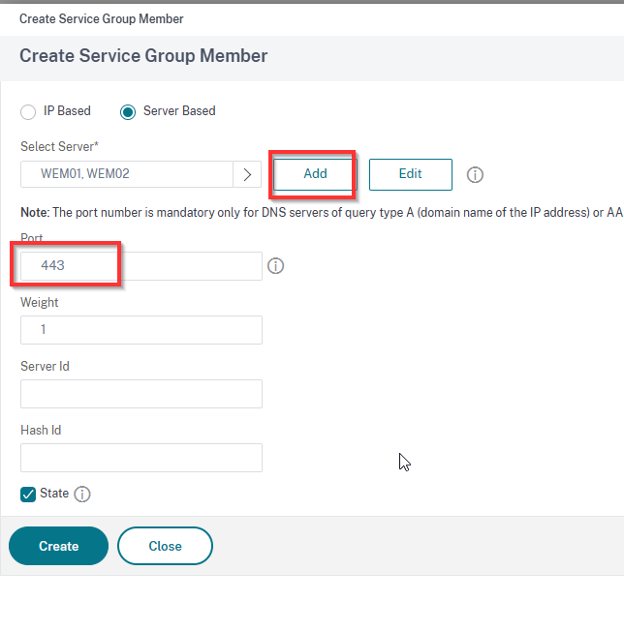
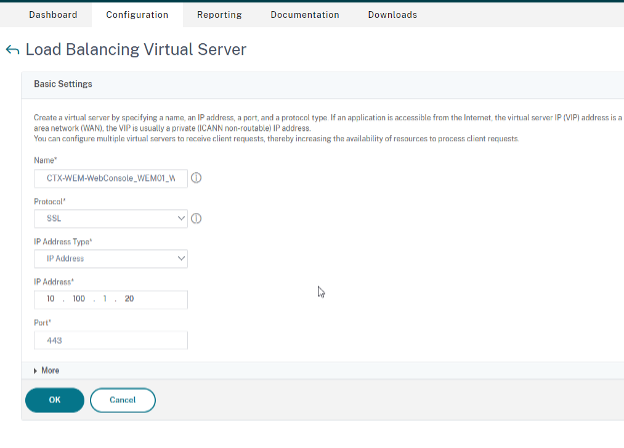
22. Add the LBVS. Since I have WEM set up on the NetScaler as an LB vServer, I am using the same IP that was for the 8284, 8286, 8287, and 8288. Since it’s a different Port now (443), I can use the same IP I had before with no issues.
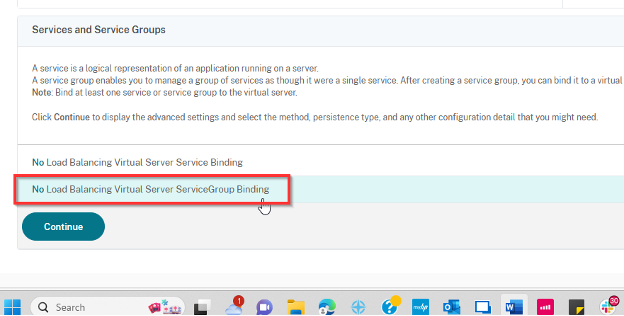
23. Bind the Service Group
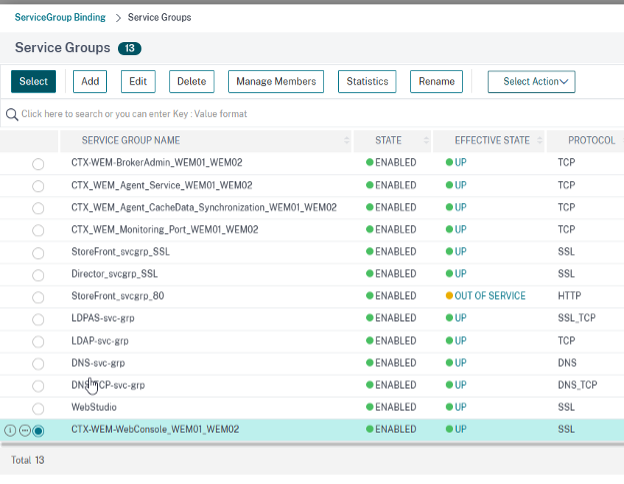
24. Bind the SSL

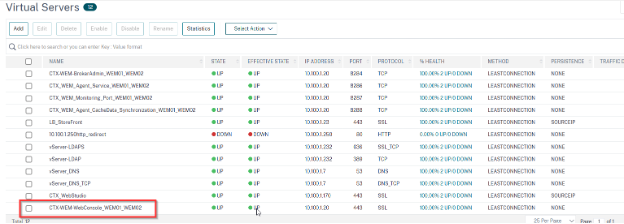
25. Persistence for now on LBVS above in the red box. For me, I did 2 minutes, now this will need to be greater in prod. But remember it will send your request to one of the WEM Web servers based on your Source IP and stay on the box for the time out minutes.

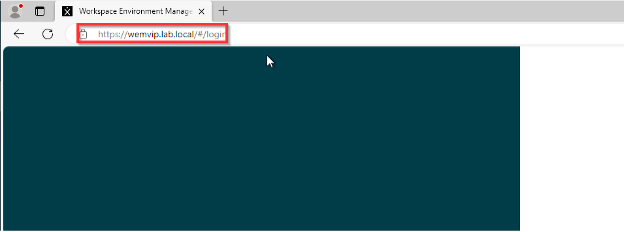
26. I decided to use the DNS name. Just a Basic DNS record pointing to my VIP IP (LB vServer)
27. For the monitor, it was just a ping for now. But I just added a basic Get request for an accurate down/up method. I am sure you can get more data, but it seems to work well at this time.

28. Test each server

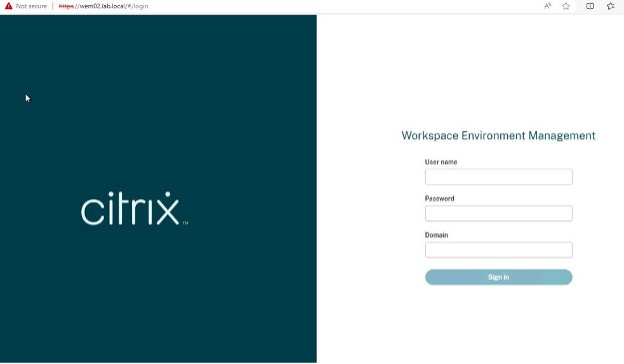
27. You will notice that the Domain field is not populated and will likely want to do this. It’s not documented that I know of, and I gave the information to Citrix. But this is how I populated the WEM Web Domain name.
28. Pre-populate Wem Web domain.
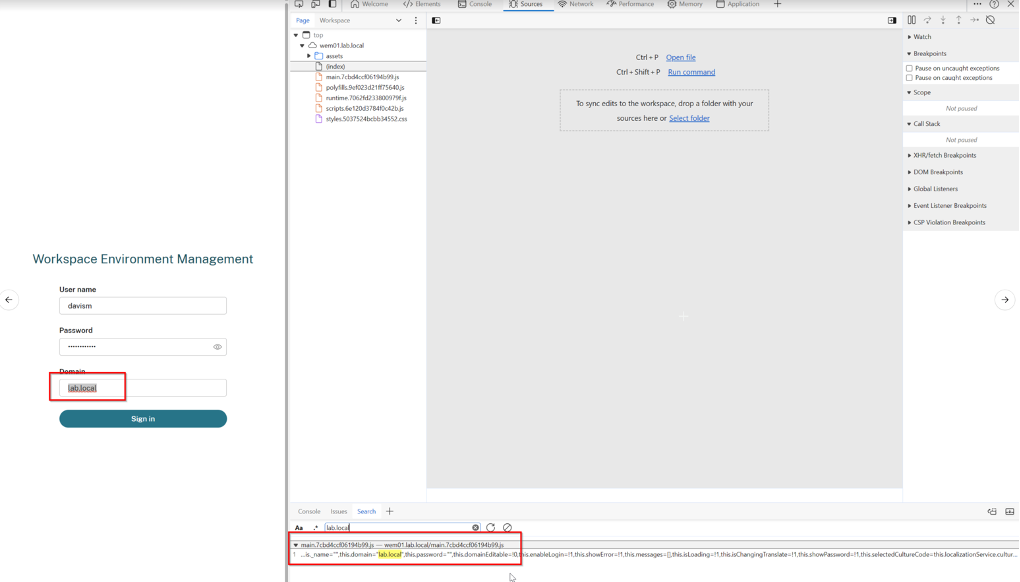
a) Navigate here “C:\Program Files (x86)\Citrix\Workspace Environment Management Web Console\WEMWebConsole”
b) Make a backup of “main.7cbd4ccf06194b99.js”
c) Open it up with a text editor and search for this.domain=””
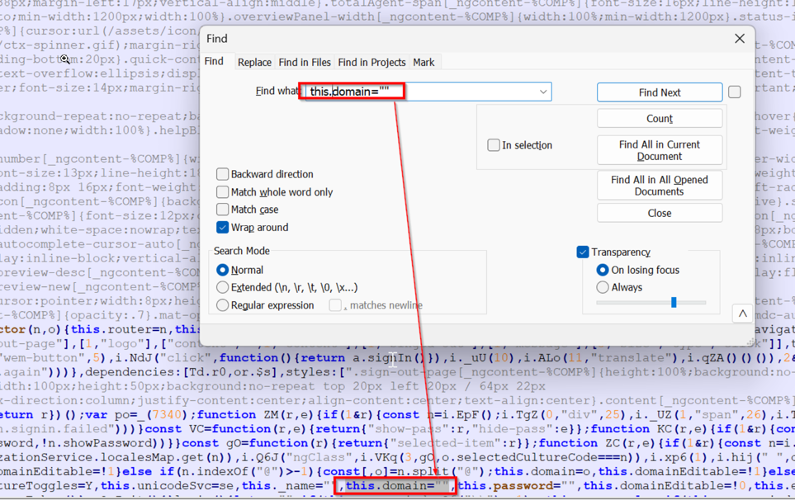
d) insert domain field in between “”
e) example = this.domain=”lab.local”
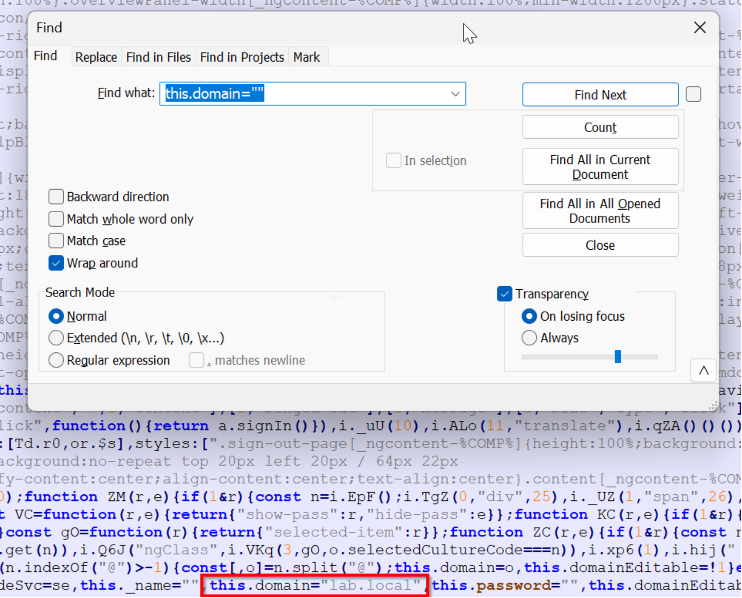
f) save the file
g) Refresh the Page.
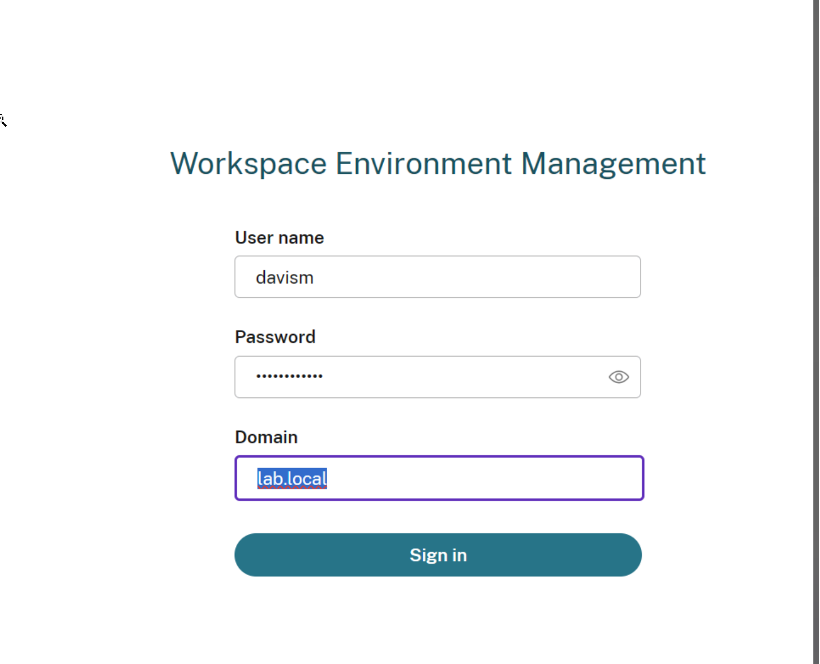
h) Domain is pre-filled.
29. Once you do this, you will notice that it will pre-fill your domain settings.
Note: You will need to perform this on all WEM servers that have the Web console installed.
This concludes how to achieve Citrix WEM Web load balancing with a basic setup.